Final Advice for AI Software
Discover key advice for first time AI software users. Learn from real experience how to avoid common mistakes, organize projects, and work smarter with AI tools.

Key Highlights Regarding AI Software Setup
Learn exactly how to prepare your system for AI software without headaches.
Step by step instructions from installation to first project execution.
Real mistakes I made and how I fixed them.
Practical tips for smooth performance and avoiding crashes.
How to manage dependencies, drivers, and system settings for optimal AI use.
Backup strategies and maintenance for long term efficiency.
Why I Learned to Set Up AI Software the Right Way
When I first started exploring AI software for creative projects, I thought it would be as simple as downloading an installer and clicking “next.” Big mistake. I spent hours troubleshooting crashes, missing dependencies, and installation errors because I didn’t fully understand system requirements.
I remember my first attempt vividly I installed a popular AI image tool on my old laptop without checking GPU compatibility. The software crashed repeatedly, some files didn’t install properly, and I lost a few days of work. I realized the right setup isn’t just about installing software it’s about preparing your system, installing dependencies, and testing everything step by step.
This guide is the solution I wish I had back then. It’s built from my real life experience setting up AI tools multiple times for different projects, including image generation, noise reduction, and automation.
Tools I Used
Before diving into installation, you need to gather all tools and materials. Here’s what worked for me:
Hardware & System:
Desktop or laptop with at least 8GB RAM (16GB recommended for heavy projects)
GPU with CUDA support (NVIDIA GTX 1060 or higher is ideal)
Minimum 50GB free storage
Stable internet connection for downloading installers and updates
Software & Dependencies:
AI software installer (e.g., AI image or video tool)
Python 3.10+ (for Python based tools)
Conda or virtual environment manager (optional but highly recommended)
GPU drivers (e.g., NVIDIA drivers, CUDA Toolkit)
Code editor (VS Code recommended)
Backup & Organization Tools:
External hard drive or cloud storage (Google Drive, Dropbox, OneDrive)
Folder structure for projects
Version control (optional, GitHub)
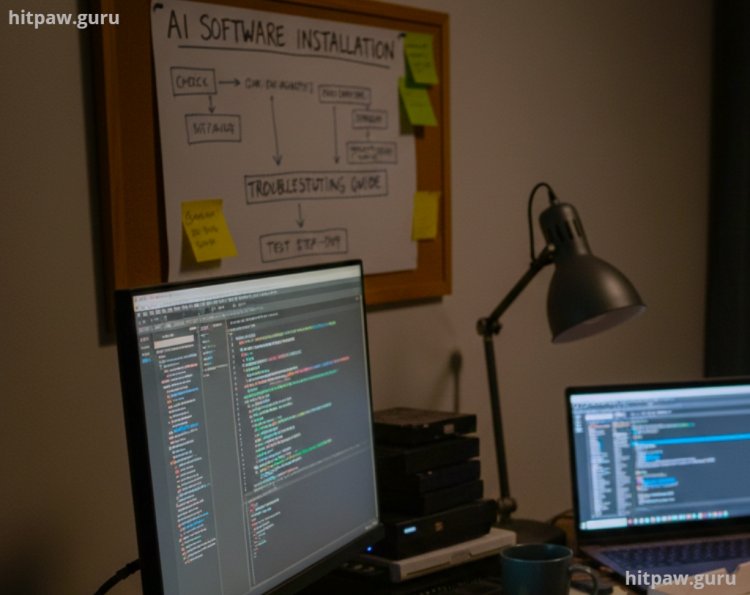
Step by Step Guide to Setting Up AI Software
Here’s exactly what I did, step by step. Follow this and you’ll save yourself a ton of frustration.
Step 1: Prepare Your System
Check your GPU and drivers: On Windows, I ran dxdiag to check the GPU model and installed the latest NVIDIA driver. On Mac, check Metal support if using Metal based frameworks.
Free up storage: Delete unused files, clear caches. AI software often requires 20 to 50GB of temp storage.
Update your OS: Ensure Windows 10/11 or macOS is up to date. Some tools fail on outdated OS versions.
Install Python and Conda: Many AI tools require Python. I prefer installing Python 3.10 and setting up a virtual environment using Conda for isolating projects.
Step 2: Download Installer Safely
Only download software from official websites. Avoid cracked or third party versions; they may have malware.
Check checksums (MD5 or SHA256) if provided. This ensures the downloaded file isn’t corrupted.
Keep installers organized in a folder.
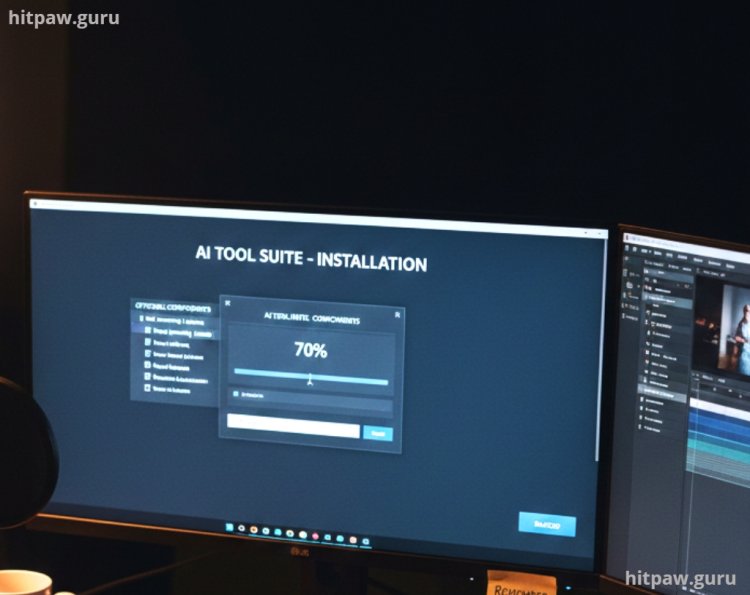
Step 3: Install the Software
Run the installer as administrator on Windows or using sudo on macOS/Linux.
Choose custom installation paths if prompted. I keep all AI tools under C:/AI_Tools/ for organization.
Select optional components carefully. Sometimes AI software installs unnecessary libraries that can conflict with existing setups.
Step 4: Configure Environment
Set environment variables if required (e.g., CUDA paths, Python paths).
Test GPU availability using terminal commands like:
python c "import torch; print(torch.cuda.is_available())"
If it returns True, your GPU is ready.
Step 5: Run Your First Project
Start with a small, sample project. For instance, generating a 256x256 image before jumping into full size projects.
Observe the software logs for warnings or errors. I learned that early logs often tell you about missing dependencies or misconfigurations.
Save outputs immediately and keep a copy in your backup folder.
Step 6: Troubleshooting Common Errors
Some errors I ran into:
Missing DLLs or shared libraries: Fix by installing the required runtime (Visual C++ Redistributable, CUDA Toolkit).
Memory errors: Reduce batch size or resolution. My first 4K project crashed my GPU because I didn’t lower batch size.
Permission errors: Run software as administrator and ensure folders have write access.
What I Got Wrong the First Time
Mistake #1:
Ignoring GPU compatibility. I tried running CUDA based AI tools on an old GTX 750 and nothing worked.
Fix: Verified GPU compatibility first and upgraded driver.
Mistake #2:
Not creating a backup folder. I lost intermediate project files during a crash.
Fix: I now save everything in /AI_Projects/ProjectName/Backups/.
Mistake #3:
Installing multiple Python versions. Libraries conflicted.
Fix: Use virtual environments for each project.
These mistakes taught me the value of preparation and systematic installation.
Practical Tips From My Experience
Use virtual environments for every AI project. It prevents conflicts between libraries.
Start small Don’t immediately jump into large projects; test with small datasets.
Keep a log of installation steps. If something breaks, you can retrace steps.
Regularly update drivers and libraries but not too frequently sometimes new updates break compatibility.
Tips From My Experience
From my experience, the single most important thing when setting up AI software is organization and preparation. Always set up a dedicated folder for each project, keep your installers, dependencies, and backups in separate, well labeled folders. Before running anything new, test it with small sample data this helps catch errors early without risking your main project.
Also, use virtual environments or isolated setups for each AI tool. This prevents conflicts between libraries and ensures that one project’s changes won’t break another.
Finally, always backup your work after each significant change or installation step. I learned the hard way that even small oversights can cause hours of lost work. This small habit has saved me countless hours and headaches.
Final Considerations
If I could go back, the first thing I’d tell myself is don’t rush through setups or skip reading instructions. Take your time to understand the software before diving in this saves hours of trial and error.
I’d also remind myself to always make backups and keep versions organized. Losing progress is frustrating, but planning ahead prevents it.
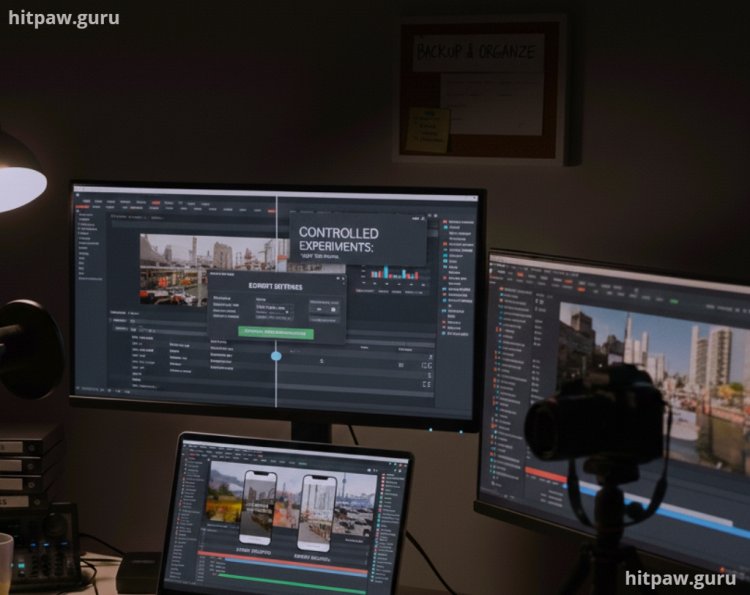
Another key lesson: experiment, but in small steps. Test new features on sample projects first instead of your main work. Mistakes are inevitable, but controlled experiments keep them manageable.
Lastly, document your process as you go. Even simple notes about what worked and what didn’t can be invaluable later, both for your current project and future ones. Following these habits early would have made everything smoother and less stressful.
Real Life Examples & Feedback
Example 1: First AI image project I tried produced blurry outputs because I didn’t configure GPU properly. After fixing environment variables and testing CUDA, the same project gave clear, high results.
Example 2: A colleague skipped dependency installation and got repeated crashes. After I helped him set up a virtual environment and install all libraries systematically, he completed his first project in a day.
These examples show the importance of a careful setup. Even small mistakes in setup can halt progress for hours.
FAQs
Do I need a GPU to run AI software?
Not always, but recommended. CPU only can be very slow.
Can I install multiple AI tools on one system?
Yes, but use virtual environments to avoid library conflicts.
What if the software crashes on first run?
Check logs, GPU compatibility, and dependencies. Often a missing library is the cause.
How do I backup my projects effectively?
Use both cloud storage and external drives. Maintain a folder for backups separate from active projects.
Should I update libraries immediately?
Only after confirming compatibility. Sometimes updates break older versions.
What’s the best way to test installation?
Run a small sample project with default settings and verify outputs before moving to complex tasks.
By following this complete step by step guide, you can confidently set up AI software without wasting days troubleshooting errors, while maintaining a workflow that’s efficient, safe, and organized.
What's Your Reaction?