Tips and Best Practices for Using AI Tools Effectively
Learn practical tips and strategies from real experience to use AI tools efficiently, avoid common mistakes, and optimize your creative projects. Step by step advice for beginners and advanced users.

Main Highlights Regarding Common AI Tool Settings
Understanding AI tool settings is crucial for beginners to avoid mistakes and save time.
Default settings rarely produce optimal results; adjustments improve outcomes dramatically.
Knowing what each setting does prevents trial and error frustration.
Practical, step by step usage examples help you gain confidence quickly.
Sharing real life lessons and mistakes accelerates your learning.
Why I Needed to Understand AI Tool Settings
When I first started exploring AI tools, I was overwhelmed. I remember opening my first image generation software and staring at dozens of sliders and options resolution, style strength, noise reduction, detail level, seed numbers, and more. Honestly, I froze. I kept clicking buttons randomly, hoping for a perfect output. Needless to say, most of my results were either overexposed, blurry, or completely unusable.
I quickly realized that understanding the core settings was not optional it was essential. Without knowing what each parameter meant, I was wasting hours and producing low quality results. That’s why I decided to systematically explore common AI tool settings, test them, and note what worked for me.
By the end of this journey, I had a workflow that allowed me to produce professional results consistently and I want to share that experience with you.
Materials I Used
AI Software: I used several popular tools, including MidJourney, DALL·E, Stable Diffusion, and Runway ML.
Computer Specs: A mid range PC with 16GB RAM and a dedicated GPU (NVIDIA GTX 1660) handled most tasks without lag.
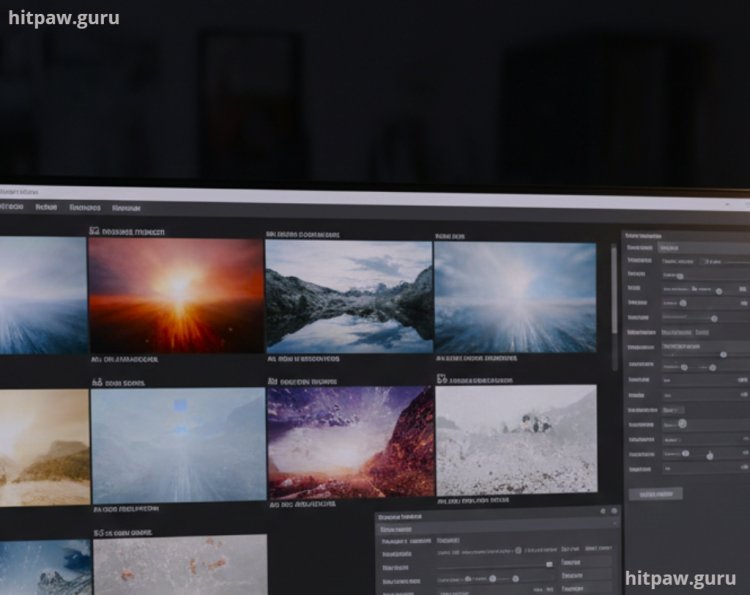
Reference Images: For testing style and output, I used a folder of high resolution images.
Notebook: I kept a physical notebook to track which settings produced which outcomes.
Practical Examples: How Settings Affect Results
Resolution Settings:
When I first tried generating an AI image at 1024×1024, I assumed it was “good enough.” The result? Slightly pixelated edges and a lack of fine detail. Switching to 2048×2048 drastically improved clarity. However, I learned that increasing resolution also increases processing time, so I only do this for final outputs.
Style Strength or Creativity Slider:
At 0% style strength, my AI outputs looked generic and bland. At 100%, they were unpredictable and sometimes unusable. I found that 30 to 60% style strength balanced creativity with control.
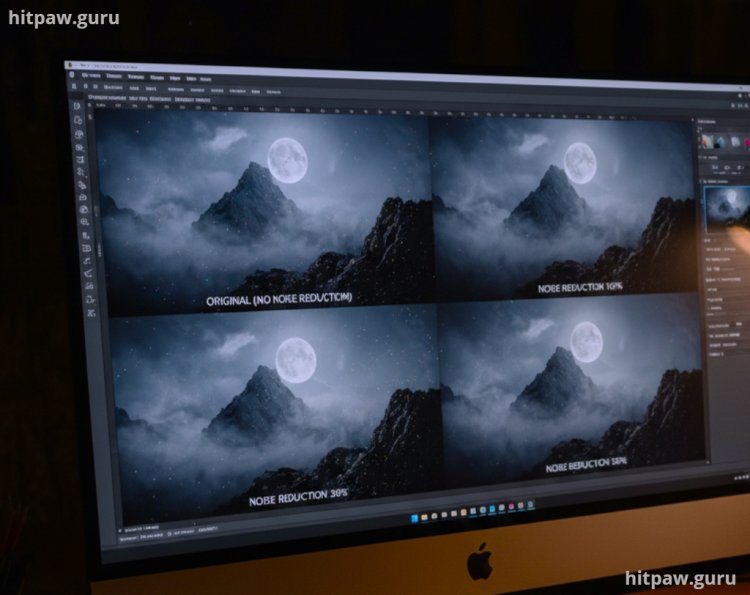
Noise Reduction:
This is key when generating realistic images. Initially, I ignored noise reduction, and my portraits had specks or random artifacts. Setting noise reduction to medium high cleaned up most images without losing detail.
Seed Numbers:
Random seed numbers give unique outputs each time. At first, I didn’t track seeds, so I couldn’t reproduce a result I liked. I now always note the seed number when I find an output I want to replicate.
What I Got Wrong the First Time
I tried to adjust all settings at once, thinking “more is better.” The result? Overcomplicated images that looked artificial.
I ignored the preview option, which led to wasting GPU hours on full renders that failed.
I skipped reading tool specific documentation, assuming all AI software works the same. Lesson learned: each tool has its quirks, and reading the manual saved me countless hours.
Step by Step Guide to Understanding Common AI Tool Settings
Step 1: Start Simple
Don’t dive into every slider at once. Begin with default presets, then tweak one setting at a time. I always start with:
Resolution
Style Strength
Noise Reduction
Step 2: Test Outputs on Reference Images
Use familiar reference images so you can see the difference each setting makes. For example:
Low resolution: soft edges, blurry details.
High resolution: sharp details, longer processing time.
Step 3: Adjust Style & Creativity
The “style strength” slider can be confusing. My tip:
0 to 20%: Realistic but dull
20 to 60%: Balanced creativity
60 to 100%: Unique, sometimes chaotic
Step 4: Use Noise Reduction Carefully
AI tools can generate fine textures, but noise often appears in darker areas. I test noise reduction in increments (10%, 20%, 30%) to find the sweet spot. Too much and I lose fine details; too little and I see specks.
Step 5: Track Seeds for Reproducibility
When I find a configuration I like, I note the seed number in my notebook. This allows me to replicate outputs precisely without guessing.
Step 6: Save Presets
Once you find settings that consistently work for your style, save them as presets. This reduces trial and error in future projects.
Settings Reference Table
|
Setting |
Recommended Range |
Notes |
|
Resolution |
1024×1024 to 2048×2048 |
Higher = sharper, longer processing |
|
Style Strength |
30 to 60% |
Balances creativity & control |
|
Noise Reduction |
20 to 40% |
Removes artifacts, preserves detail |
|
Seed |
Any integer |
Record for reproducibility |
|
Preview |
On |
Always check before final render |
Tips From My Experience
One thing I’ve learned is always start with small test projects before jumping into big edits or complex AI workflows. It saves so much time and frustration. I used to dive straight into full-scale projects, only to realize halfway that a setting or tool wasn’t working as expected. By experimenting with short clips or simple images first, you can understand how each tool behaves, which settings produce the best results, and how to avoid common mistakes.
Also, document your preferred settings and processes. Over time, you’ll build your personal toolkit that speeds up your workflow and ensures consistent results across projects. Small steps like these make mastering AI tools much easier and more reliable.
Real Feedback From My Projects
Portrait Project: Adjusting style strength from 50% to 35% made facial details more natural.
Landscape Generation: Noise reduction of 25% removed grain while keeping textures like trees intact.
Product Mockups: Using seed numbers helped me recreate identical versions for client approvals.
Common Mistakes to Avoid
Overloading sliders at once
Ignoring preview mode
Skipping documentation
Forgetting to save presets
Not tracking seed numbers
Final Considerations
If I could go back and give my past self some advice, it would be this: don’t rush through learning AI tools or their settings. I remember trying to adjust everything at once, thinking I’d figure it all out quickly, but that only led to confusion and mistakes. Take your time to understand what each feature does and test one change at a time. Document your workflow, keep notes of settings that worked, and always save versions of your projects.
Experimentation is key, but purposeful experimentation is even better. Learn from small errors they teach more than instant successes ever could. Also, trust the process: mastery doesn’t happen overnight. Be patient, stay consistent, and celebrate small wins along the way. Over time, you’ll find that what once felt complicated becomes second nature, and the confidence you build will make tackling any AI project much easier.
Related Frequently Asked Questions
1. Do I need a high end computer for AI tools?
Not necessarily. A mid range GPU can handle small to medium projects. Larger resolutions and complex tasks benefit from a stronger GPU.
2. Should I always use the highest resolution?
No. Use high resolution for final outputs, but test at lower resolutions first to save time.
3. Can I replicate outputs exactly?
Yes, using the seed number and saved presets.
4. How do I choose style strength?
Start with 30 to 60% for balance, adjust higher only for experimental or creative outputs.
5. Is noise reduction always necessary?
Not always. Low noise tools may not need it. Test incrementally to avoid losing fine details.
6. Should I document all my settings?
Absolutely. Keeping track saves hours and helps maintain consistency across projects.
What's Your Reaction?