AI Powered Image Editing
Explore my hands-on journey with AI powered image editing. I share real experiences using tools like Photoshop Neural Filters, Luminar AI, and DALL·E, common mistakes I made, practical fixes, and what the future holds for AI image enhancement.
Key Points Regarding AI Image Editing
How AI has transformed image editing for professionals and beginners alike
Hands on examples of AI powered tools like Photoshop Neural Filters, Luminar AI, and DALL·E
Practical tips for improving workflow and creativity with AI
Common mistakes I made and how I fixed them
Step by step approach to AI image editing for beginners and pros
Future possibilities in AI powered image enhancement
Why I Started Exploring AI Image Editing
I remember the first time I tried editing photos manually it was exhausting. I would spend hours adjusting brightness, contrast, removing blemishes, or enhancing colors, and even then, my results were far from professional. I wanted to create stunning visuals faster and more accurately, so I started exploring AI powered image editing tools.
At first, I was skeptical. Could AI really replace years of skill and experience? Or would it be just another gimmick that made the workflow more complicated? After spending weeks experimenting with different tools and techniques, I realized AI is not here to replace us it’s here to amplify our creativity and efficiency.
Tools I Used
Before diving in, I want to share the tools and materials I relied on during my AI image editing journey:
Hardware:
Laptop with 16GB RAM, NVIDIA GPU for rendering AI effects faster
Software:
Adobe Photoshop with Neural Filters
Luminar AI for automated enhancement
Topaz Labs Gigapixel AI for image upscaling
DALL·E / MidJourney for AI generated elements
Images:
My personal photos, stock images, and client images for testing
Accessories:
Wacom tablet for precision adjustments
These tools formed the backbone of my workflow and allowed me to experiment with multiple AI editing techniques without starting from scratch every time.
Step by Step Guide to Using AI in Image Editing
Here’s a practical step by step approach I follow every time I edit images using AI tools:
Step 1: Evaluate the Original Image
Before touching any AI tool, I closely examine the image.
Is it low resolution or high resolution?
Does it have poor lighting or color balance?
What is my goal enhancement, retouching, or creative transformation?
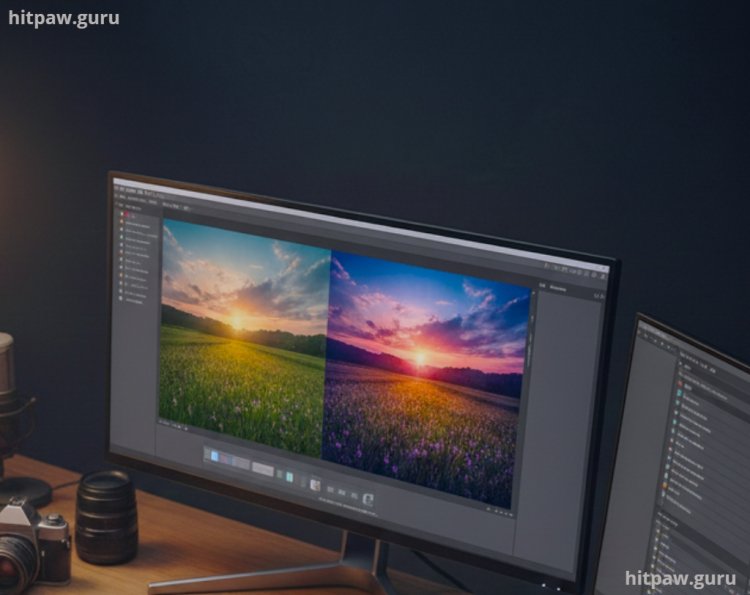
For example, I had a landscape shot that looked dull and noisy. I knew the final goal was to make it vibrant for a blog banner.
Step 2: Apply AI Enhancement Filters
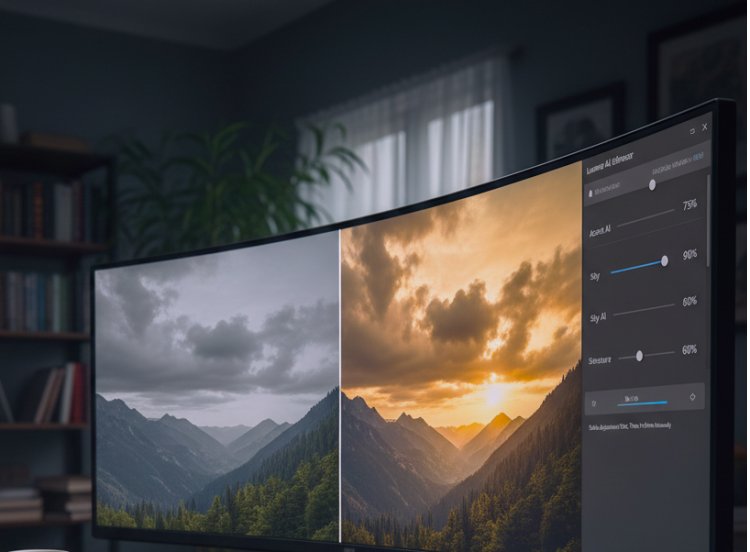
Tools like Luminar AI allow me to enhance the image automatically:
Accent AI improves brightness, contrast, and saturation with one slider.
Sky AI can replace dull skies with more dramatic ones automatically.
Structure AI enhances textures without affecting skin or smooth areas.
I learned that overusing AI sliders can make images look unnatural, so I always apply subtle adjustments first, then refine manually.
Step 3: Retouch Faces and Portraits
For portraits, Photoshop Neural Filters are a game changer:
Skin smoothing without losing texture
Adjust facial expressions subtly
Remove imperfections quickly
I remember editing a client portrait where the AI initially made the skin look plastic. I fixed this by lowering the filter intensity to about 30 to 40% and manually blending. This was a critical lesson: AI is powerful but not perfect.
Step 4: Add Creative AI Elements
Sometimes, I use AI to add artistic elements or generate new visuals:
AI generated backgrounds for promotional images
Adding elements that weren’t in the original shot (like clouds, objects, or textural overlays)
Using DALL·E to create unique illustrations from text prompts
Here, the key is integration: the AI generated content must match the lighting, perspective, and style of the original photo. Otherwise, it looks out of place.
Step 5: Upscale & Sharpen
For low resolution images, Topaz Gigapixel AI has been invaluable. It allows me to:
Increase resolution without artifacts
Retain fine details
Make images print ready or suitable for large displays
I once tried upscaling a client’s low photo manually it was hopeless. AI saved me hours of work.
Step 6: Final Manual Touches
AI gets you 80 to 90% there, but I always finish manually:
Fine tune color grading
Add selective sharpening
Correct any AI mistakes
My final rule: trust AI, but don’t let it take full control.
Practical Examples
Client Portrait: Initially dull and uneven skin tone. Using Photoshop Neural Filters, I enhanced skin, eyes, and brightness. Client loved the result and said it looked "professional yet natural."
Landscape Photo: Used Luminar AI for sky replacement and texture enhancement. Initial AI output looked slightly exaggerated. Adjusted sliders manually for a realistic look.
Product Image: Enhanced contrast and removed minor blemishes using AI. Saved 3 hours compared to manual editing.
Social Media Banner: Generated background elements with DALL·E, blended into a photo of a cityscape. The AI elements matched perfectly after slight manual adjustment.
These experiences taught me that AI works best when paired with human judgment.
Maintenance Table
|
Task |
Frequency |
Notes |
|
Backup project files |
Daily or after major changes |
Cloud or external drive |
|
Check GPU driver updates |
Monthly |
Only official sources |
|
Update Python libraries |
Weekly or bi-weekly |
Use pip list outdated |
|
Test AI software with sample data |
After every major update |
Ensures everything still works |
What I Got Wrong the First Time
Here’s a mistake I often made initially:
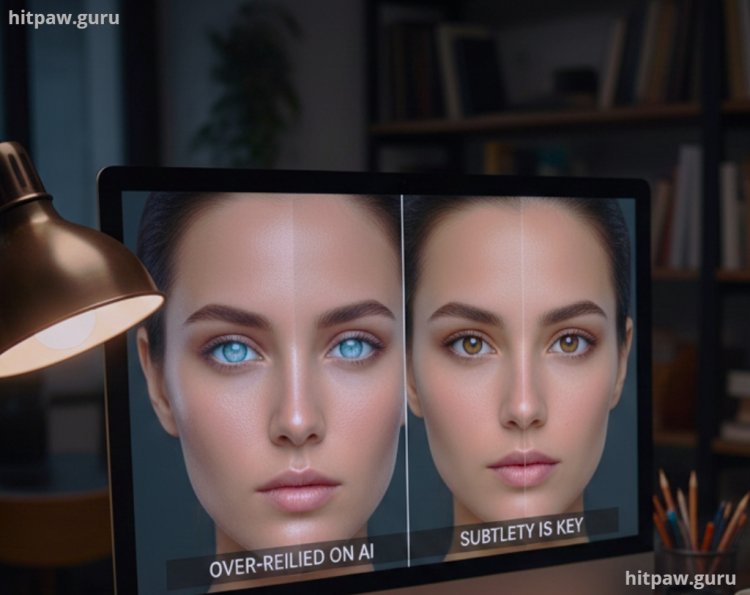
Over relying on AI: I once let AI automatically adjust all filters for a portrait. The skin looked overly smooth, the eyes unnaturally bright. The client noticed immediately.
Fix: I reduced AI intensity, manually adjusted facial features, and preserved natural textures. Lesson learned: subtlety is key.
Another mistake: Using AI generated backgrounds without matching lighting or perspective. Always ensure the generated element matches the original image’s environment.
Tips From My Experience
Use AI as your assistant, not your replacement: AI can speed up workflow and provide creative ideas, but the human touch is what makes images unique and authentic.
Layer your edits: Apply AI enhancements in layers so you can adjust intensity later.
Check the details: AI sometimes misses edges, reflections, or shadows these need manual correction.
Closing Thoughts
AI powered image editing is no longer just a concept it’s a practical reality that’s reshaping workflows for photographers, designers, and content creators. Through my journey, I’ve learned that the combination of AI and human creativity produces results that neither could achieve alone.
From portrait retouching to landscape enhancements and creative image generation, AI can save hours of work, unlock new creative possibilities, and make professional quality images accessible to everyone. But the key takeaway is clear: don’t blindly trust AI. Use it as a tool, not a crutch.
Frequently Asked Questions About AI in Image Editing
1. Do I need professional skills to use AI for image editing?
Not necessarily. AI tools like Luminar AI or Photoshop Neural Filters are designed to be beginner friendly. Even if you’re new, you can achieve impressive results by experimenting and following tutorials.
2. Can AI completely replace manual editing?
No. AI can handle repetitive tasks like enhancing colors, removing blemishes, or upscaling images, but human judgment is crucial for creative decisions, natural results, and fine tuning details.
3. Are AI generated edits always realistic?
Not always. AI may over smooth skin, exaggerate colors, or produce unnatural backgrounds. Always review and manually adjust the final image to maintain realism.
4. Which AI tool is best for beginners?
For beginners, Luminar AI and Photoshop Neural Filters are excellent starting points. They are intuitive, provide automated suggestions, and still allow manual adjustments for finer control.
5. Can AI help restore old or damaged photos?
Yes. AI can remove scratches, restore faded colors, and even fill missing parts of old photos. Tools like Photoshop’s Content Aware Fill or Topaz AI are perfect for photo restoration projects.
6. How can I avoid over editing with AI?
Use subtle adjustments and layer your edits. Compare the edited version with the original often. Less is usually more over editing can make images look artificial.
7. Are AI edited images safe to use commercially?
It depends on the tool and licensing. Some AI generated content may have restrictions. Always check the terms of service for commercial use.
What's Your Reaction?