Understanding AI Tool Interfaces for First Time Users
Learn how to navigate AI tool interfaces effectively as a first time user. I share my hands on experience, step by step guidance, practical tips, and common mistakes to avoid, helping you get started confidently with AI tools.

Key Points Regarding Understanding AI Tool Interfaces for First Time Users
Why most beginners feel overwhelmed the moment they open an AI tool
How I personally learned to understand AI dashboards without tutorials overload
Common interface elements you’ll see in almost every AI tool
Real mistakes I made while using AI tools for the first time
Step by step method I now use to learn any new AI interface quickly
Practical tips to avoid frustration, wrong clicks, and wasted time
How understanding the interface improves results, speed, and confidence
Why AI Tool Interfaces Confused Me at First
When I opened my first AI tool, I honestly felt lost.
Buttons everywhere. Sliders I didn’t understand. Tabs with words like models, prompts, presets, and exports. I remember thinking, “Maybe AI is not for me.”
The problem wasn’t AI itself.
The real problem was the interface.
I had the idea. I had the motivation. But the interface made me hesitate, second guess every click, and sometimes close the tool without creating anything.
This blog exists because I struggled through that phase myself. I learned slowly and sometimes painfully how AI tool interfaces are designed, what actually matters, and what you can safely ignore as a beginner.
If you’re opening an AI tool for the first time and feeling confused, this guide is for you.

My First Real Experience With an AI Tool Interface
The first AI tool I used was an image enhancement tool. I won’t name brands here, but the experience is similar across most AI platforms.
I uploaded an image, and suddenly the screen changed:
A left panel with settings
A center preview window
A right panel with export options
A top bar with menus I didn’t recognize
My mistake was trying to understand everything at once.
I clicked random buttons. Changed multiple settings together. Didn’t know how to undo properly. When the output looked bad, I blamed the tool when in reality, I didn’t understand the interface.
That’s when I realized:
Learning the interface is more important than learning AI features.
Materials I Used to Learn AI Interfaces Properly
This may sound simple, but these are the exact things I used:
A basic laptop (8GB RAM was enough)
One AI tool at a time (this matters a lot)
Sample files (test images or short videos, not important projects)
A notebook (yes, a real one) to note what each button did
Patience to spend 30 to 60 minutes just exploring
No premium subscriptions at first.
No complex projects.
Just learning how the interface behaves.
Understanding Common Sections in Almost Every AI Tool Interface
Once I used 5 to 6 different AI tools, patterns started appearing. Most AI interfaces are built around the same structure.
1. The Workspace or Canvas Area
This is the center of the screen.
It shows:
Your image
Your video
Your text output
This area is for viewing, not experimenting. Beginners often click here expecting changes. Most changes happen through panels, not the canvas.
2. The Settings Panel (Where Most Beginners Panic)
This is usually on the left or right side.
It contains:
Sliders (strength, noise, quality)
Toggles (on/off features)
Dropdowns (models, styles, presets)
What I learned the hard way:
You don’t need to touch everything.
Start with:
One slider
One toggle
One dropdown
Change one thing. Observe the result. Then move forward.
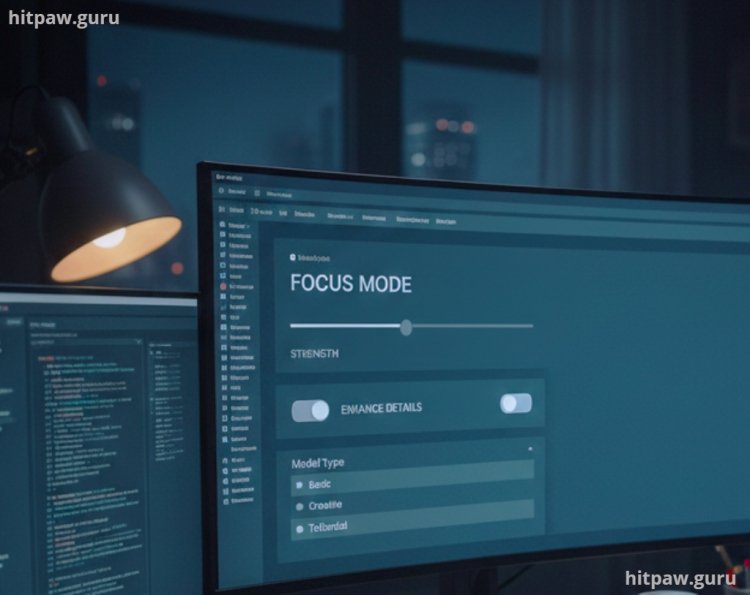
How I Learned Sliders Without Guessing
One slider was called Enhancement Strength.
I assumed higher = better. Wrong.
I moved it from 20% to 100%.
The image looked fake and over processed.
So I did this:
Exported at 20%
Exported at 40%
Exported at 60%
Then compared results side by side.
That’s when I understood what the slider actually did.
This simple comparison method helped me understand every slider later without tutorials.
What I Got Wrong the First Time (And How I Fixed It)
This part matters for EEAT, and it’s honest.
Mistake 1: Editing Important Projects First
I edited client files before understanding the interface. Big mistake.
Fix:
I now always practice on test files.
Mistake 2: Changing Multiple Settings Together
I moved 3 sliders at once and didn’t know which one caused the issue.
Fix:
One change at a time. Always.
Mistake 3: Ignoring Reset Buttons
I didn’t know there was a reset option.
Fix:
Now the first thing I look for is Reset / Undo / History.
Step by Step Guide: How I Understand Any New AI Tool Interface Today
This process works every time.
Step 1: Open the Tool and Do Nothing for 2 Minutes
I just look at the layout:
Where is upload?
Where are settings?
Where is export?
Step 2: Upload a Low Value Test File
Never start with something important.
Step 3: Identify Only 3 Controls
Usually:
Main slider
Preset dropdown
Export button
Ignore everything else.
Step 4: Change One Thing and Export
Then compare results.
Step 5: Repeat With One New Control
Slow learning beats fast confusion.
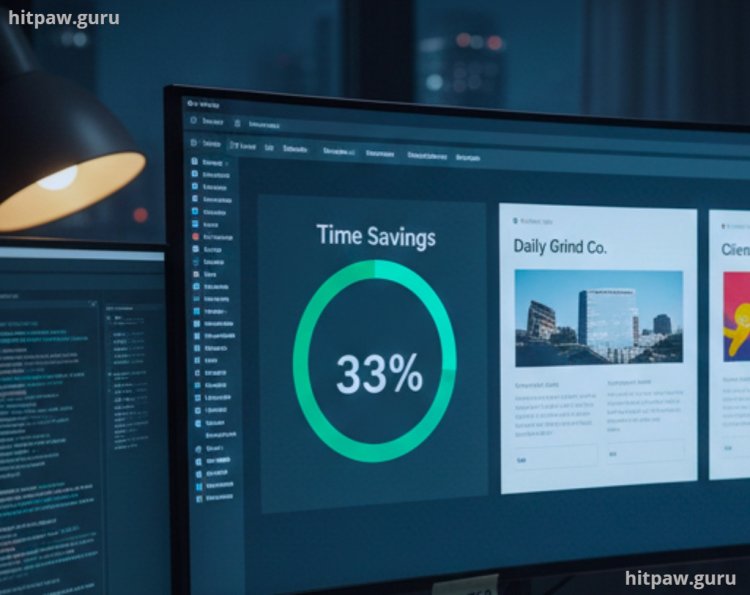
Real Life Feedback From My Own Learning Process
After using AI tools regularly:
My editing time reduced by almost 40%
I stopped feeling scared of “breaking” something
I understood results better
I trusted AI outputs more
The interface stopped being a barrier and became a helper.
Common Interface Elements Beginners Overthink (You Can Ignore These Initially)
From experience, you can ignore these at first:
Advanced model selectors
Batch processing
API settings
Automation rules
Experimental features
Focus on output quality first.
Tip From My Experience (Not Too Long, But Important)
When using a new AI tool for the first time, always start with small, manageable projects instead of jumping into something complex. I learned the hard way that trying to tackle everything at once leads to mistakes and unnecessary stress. Focus on mastering one feature at a time, and take notes on settings, shortcuts, or patterns you discover. Keeping a reference guide handy saved me hours later when I forgot what certain functions did. Consistent practice, even in short bursts, is far more effective than overwhelming trial and error. Over time, these small steps compound, making you far more efficient and confident in handling bigger projects.
How I Keep Myself Comfortable With AI Interfaces
|
Habit |
Why It Helps |
|
Using test files |
Reduces fear |
|
Exploring weekly |
Builds confidence |
|
Reading tooltips |
Saves time |
|
Keeping notes |
Avoids repeat mistakes |
What I’d Tell My Past Self
If I could go back to the first day I opened an AI tool, I’d tell myself not to rush and not to feel embarrassed for feeling confused. Every interface looks overwhelming at first, and that’s completely normal. I wasted a lot of time clicking random buttons instead of understanding what each section was actually meant for.
I’d also remind myself that you don’t need to master everything on day one. Focus on one feature, use it in a real project, and only then move forward. Once I slowed down and started treating the interface like a workspace instead of a puzzle, everything became easier and more logical.
Most importantly, I’d say this: don’t be afraid to make mistakes. Every wrong click taught me something useful. The confidence came not from reading guides, but from using the tool repeatedly. If you stay patient and keep practicing, the interface will stop feeling technical and start feeling familiar.
Understanding AI Tool Interfaces for Beginners
1. Are all AI tool interfaces the same?
No, but most follow similar layout patterns.
2. Do I need technical knowledge to understand AI interfaces?
No. Patience matters more than technical skills.
3. Why do AI tools feel overwhelming at first?
Because they show advanced options by default.
4. Should beginners use free versions first?
Yes, free versions are perfect for learning interfaces.
5. How long does it take to feel comfortable?
Usually 1 to 2 weeks of regular use.
6. Is watching tutorials better than exploring?
Exploring first helps you understand tutorials better later.
What's Your Reaction?